
While Farmerboy was shopping for his Halloween pumpkins to carve, he brought home three sugar (or commonly tagged "pumpkin pie") pumpkins. Why? Who knows... Apparently, he felt that his mother would like to take on the challenge of making her own pumpkin puree from scratch. UGH!! My mind was filled with the idea of cutting the tough rinds, scraping out the seeds, cubing and cooking the remaining pumpkin. The end result would probably be me with a soupy mess! :(
I was telling my Mom about my troubles one afternoon, when she mentioned having seen a program on TV that processed the pumpkins by baking them whole. What? I am not going to lie here... My mind was filled with exploding pumpkins and seedy guts hanging all over my oven. I could tell later that evening that Mr. Hollow's thinking wasn't much different. But, after a little research that surprisingly brought few results, my mind was made up to take a stab at this short cut. Armed with very little knowledge (and after waiting for Mr. Hollow to leave for work), the little pumpkins went into the oven. This is how I prepared and baked them:
All three pumpkins were washed and dried. They were rubbed all over with a paper towel-- moistened in olive oil. I took a pointed steak knife and pierced the rind all over (was hoping this would deter any explosions!). They were then set directly on the oven rack with a cookie sheet on the rack immediately below them to catch any run off. Next, I turned the oven on 400 degrees and let them bake for about an hour. They were checked by pushing a knife through the pumpkin and into the flesh. The rind and flesh were soft, so I knew that they were finished baking. The picture below is how they looked after removal from the oven.

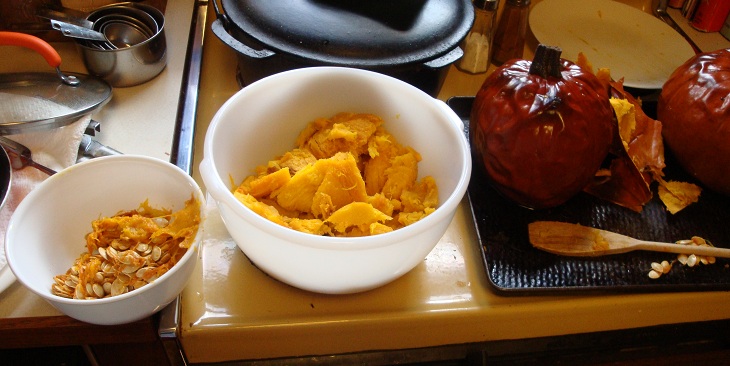
My Braun hand held processor turned the pumpkin flesh into a smooth puree. Three pumpkins yielded 5 containers of pumpkin puree at 2 cups each. Four of the containers are now in the deep freeze. Not a bad haul for an afternoon of experimenting! :)
The next test was to make a pie. I noticed that the pumpkin did seem a little runnier in the mixing stage... And the pie did bake a little longer than my pies made with canned pumpkin... But I am happy to say that it tasted absolutely perfect!
Did I ever tell you that my all time favorite dessert is Pumpkin Pie? I don't even need Cool Whip to enjoy it! :)

I do not know if planting, harvesting and processing pumpkins on a larger scale is in my future, but the idea is certainly more tempting with this method! :)
4 comments:
I never knew that either!!! Thanks for sharing this. I dreaded cutting and cleaning a hard pumpkin and i love pumpkins too,but never bought them. I will now...and cook the same way.
Yippee! Thanks
Happy Thanksgiving
Earlene
Hello Earlene... I am so lucky that my Mom watched that program when she did. The timing was just right! I LOVE learning new things. :)
Happy Thanksgiving!
Thanks for this tip! this really just looks too easy.. who would have thought? I may even try this sometime now!
Hello Jody... It is the only way that I will ever make it! ;) Not complicated... Which is the way I like life. LOL
Post a Comment